
Makeup By Chele Tutorial
How to Fill in Brows – Easy Beginner Makeup Guide
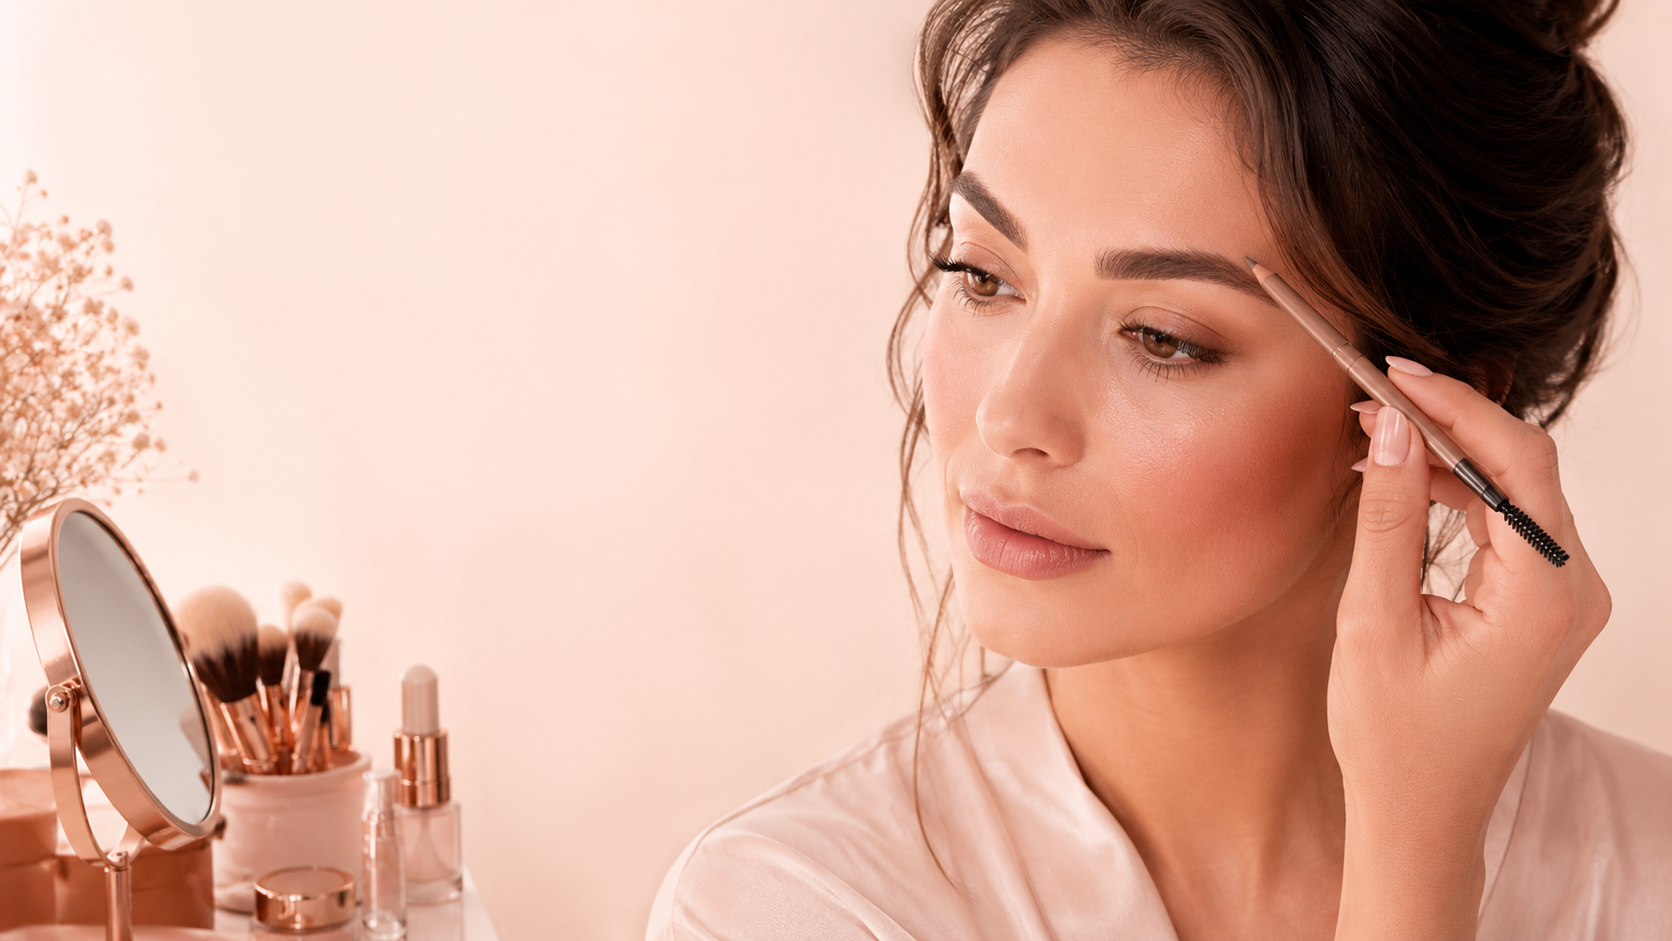
How to fill in brows is an important beginner makeup skill because brows frame the face and can change the way the whole makeup look feels. When brows are filled softly, the eyes look more finished without the face looking harsh.
If you are learning how to fill in brows as a beginner, the goal is not to draw on a completely new brow. The goal is to softly fill sparse areas, improve the shape, and blend the product so the brows still look natural.
This guide will show you how to fill in brows with a brow pencil, spoolie, light strokes, and beginner-friendly shaping tips. It is part of the full Makeup Tutorials series.
How to Fill in Brows for Beginners
Learning how to fill in brows starts with understanding your natural brow shape. Your brows already have a beginning, arch, and tail. Brow makeup should follow that shape instead of fighting it.
The biggest beginner mistake is pressing too hard with a pencil or making the front of the brow too dark. Brows usually look softer and more flattering when the front is lighter and the tail has a little more definition.
Once you understand how to fill in brows with light strokes and blending, your brows can look fuller and cleaner without looking drawn on.
How to Fill in Brows Step by Step
The easiest way to learn how to fill in brows is to brush first, fill lightly, blend often, and only add more where the brow truly needs it. Small strokes look more natural than one heavy line.
1. Brush the Brows Up
Use a spoolie to brush your brow hairs upward and outward. This shows the natural shape and helps you see where the sparse areas are.
2. Find the Sparse Spots
Look for gaps instead of filling the whole brow immediately. Most brows only need product in certain areas, not a heavy layer from front to tail.
3. Use Light Hair-Like Strokes
Use a brow pencil with light pressure and make tiny strokes in the direction your brow hair grows. This keeps the brow softer and more natural.
4. Keep the Front Softer
The front of the brow should usually be lighter than the arch and tail. Avoid making a dark boxy front because it can make the brow look harsh.
5. Define the Tail
The tail can be a little more defined than the front. Use small strokes to extend or sharpen the tail without dragging it too far downward.
6. Brush Through Again
After adding product, brush through with the spoolie. This softens pencil lines and helps the brow product blend into your natural brow hairs.
7. Add Brow Gel If Needed
Clear or tinted brow gel can hold the hairs in place. Use a light hand so the brows stay lifted without becoming crunchy or stiff.
8. Check Both Brows Together
Brows are sisters, not twins. Step back from the mirror and make sure they look balanced overall instead of trying to make every hair identical.
Chele’s pro tip: eyebrow stencils can be very helpful for beginners who struggle with brow shape, placement, or symmetry. Use them as a guide, then soften the brow with a spoolie so it still looks natural.
Brow Pencil, Powder, or Gel: Which Is Best?
When learning how to fill in brows, it helps to know what each brow product does. You do not need every product at once. Beginners can start with one pencil and a spoolie, then add other products later if needed.
Brow Pencil
A brow pencil is good for filling small gaps and creating hair-like strokes. Choose a shade that is not too dark so the brow stays soft.
Brow Powder
Brow powder gives a softer filled-in look. It can be helpful if your brows need gentle fullness but you do not want sharp lines.
Brow Gel
Brow gel helps hold hairs in place. Clear gel is great for a natural look, while tinted gel can add light color and fullness.
Brow Stencils
Brow stencils can help beginners understand shape and symmetry. They are especially helpful if you feel unsure where the arch or tail should go.
How to Fill in Brows Without Looking Harsh
A big part of learning how to fill in brows is learning how to keep the brow soft. Harsh brows usually happen when the product is too dark, the pencil pressure is too heavy, or the front of the brow is filled too strongly.
Use light strokes and blend often with a spoolie. The front of the brow should fade softly into the rest of the brow. The arch and tail can have more shape, but the whole brow should still match your face.
- Use a brow shade close to your natural brow color.
- Use light pressure instead of pressing hard.
- Keep the front of the brow softer than the tail.
- Brush through with a spoolie after adding product.
- Step back from the mirror to check the overall balance.
If your brows look too dark, brush through them several times with a clean spoolie. You can also tap a tiny bit of face powder over the brow to soften the color.
Brow Mistakes to Avoid
A big part of learning how to fill in brows is knowing what makes brows look unnatural. Most beginner brow mistakes come from too much pressure, too dark of a shade, or trying to make both brows perfectly identical.
Making the Front Too Dark
A dark square front can make the brows look harsh. Keep the front softer and focus more definition toward the arch and tail.
Using Too Much Product
Brows usually need less product than beginners think. Fill the gaps first instead of covering every part of the brow.
Ignoring Your Natural Shape
Your natural brow shape is the best guide. Trying to create a completely different brow shape can make the brows look out of place.
Not Blending With a Spoolie
A spoolie softens pencil marks and blends product into the brow hairs. Skipping this step can leave the brows looking drawn on.
What Comes After Brows?
After you learn how to fill in brows, the next step in this beginner tutorial series is lip liner. Brows frame the eyes, and lip liner helps finish the mouth so the whole makeup look feels balanced.
Next, go to how to apply lip liner. That page will help you shape the lips, keep lipstick cleaner, and finish the makeup look with more polish.
If you need to go back, visit how to apply foundation, how to apply concealer, how to apply blush, how to apply bronzer, how to apply highlighter, or how to apply eyeshadow. If you want the full routine, go to the full beat makeup tutorial or return to the main makeup tutorials hub.
For general cosmetic safety and hygiene, you can also review the FDA cosmetics safety page. Clean brow tools and fresh products matter, especially around the eye area.
Related Makeup Tutorials
Use these pages next to keep building your makeup routine in the right order.
How to Fill in Brows FAQ
What is the easiest brow product for beginners?
A fine brow pencil with a spoolie is one of the easiest brow products for beginners because it lets you fill small gaps and blend as you go.
Should brows be darker or lighter than hair?
Brows usually look softer when they are close to your natural brow color. Going too dark can make the brows look heavy or harsh.
Can beginners use eyebrow stencils?
Yes. Eyebrow stencils can help beginners with shape, placement, and symmetry. The key is to use them lightly and blend afterward.
Once you know how to fill in brows with soft strokes and good blending, your makeup can look more balanced, lifted, and finished without looking overdone.
Want to keep learning? Go back to the main tutorial library and choose the next makeup step. This how to fill in brows guide is one step in the full beginner makeup tutorial series.
Back to Makeup Tutorials