
Makeup By Chele Tutorial
How to Apply Contour – Easy Beginner Makeup Guide
How to apply contour is an important full beat makeup skill because contour adds soft shape and shadow back to the face after concealer and foundation. When contour is blended well, the face can look lifted and more sculpted without looking harsh.
If you are learning how to apply contour as a beginner, the goal is not to draw dark stripes all over the face. The goal is to place soft shadow where you want shape, then blend until the contour melts into the rest of your makeup.
This guide will show you how to apply contour in a beginner-friendly way, including cheekbones, forehead, jawline, blending, and how contour fits before blush and highlighter in Michele’s full beat order. It is part of the full Makeup Tutorials series.
How to Apply Contour for Beginners
Learning how to apply contour starts with understanding that contour is meant to create shadow. Bronzer adds warmth, but contour adds shape. That means contour is usually placed more carefully and blended softly so it looks like natural depth.
The biggest beginner mistake is using a shade that is too dark, too warm, or too much product at once. A little contour can shape the face beautifully, but heavy contour can look muddy or obvious very quickly.
Once you understand how to apply contour in thin, blended layers, it becomes much easier to sculpt the face without making your makeup look heavy.
How to Apply Contour Step by Step
The easiest way to learn how to apply contour is to place a small amount first, blend upward, and only add more if the face still needs shape. Contour should look soft, not like a stripe.
1. Apply Concealer and Foundation First
In Michele’s full beat order, contour comes after concealer and foundation. This gives you an even base so you can see where the face needs soft shadow.
2. Choose a Soft Contour Shade
Choose a contour shade that is only a little deeper than your skin. A cooler or neutral shade usually looks more like shadow than a very orange shade.
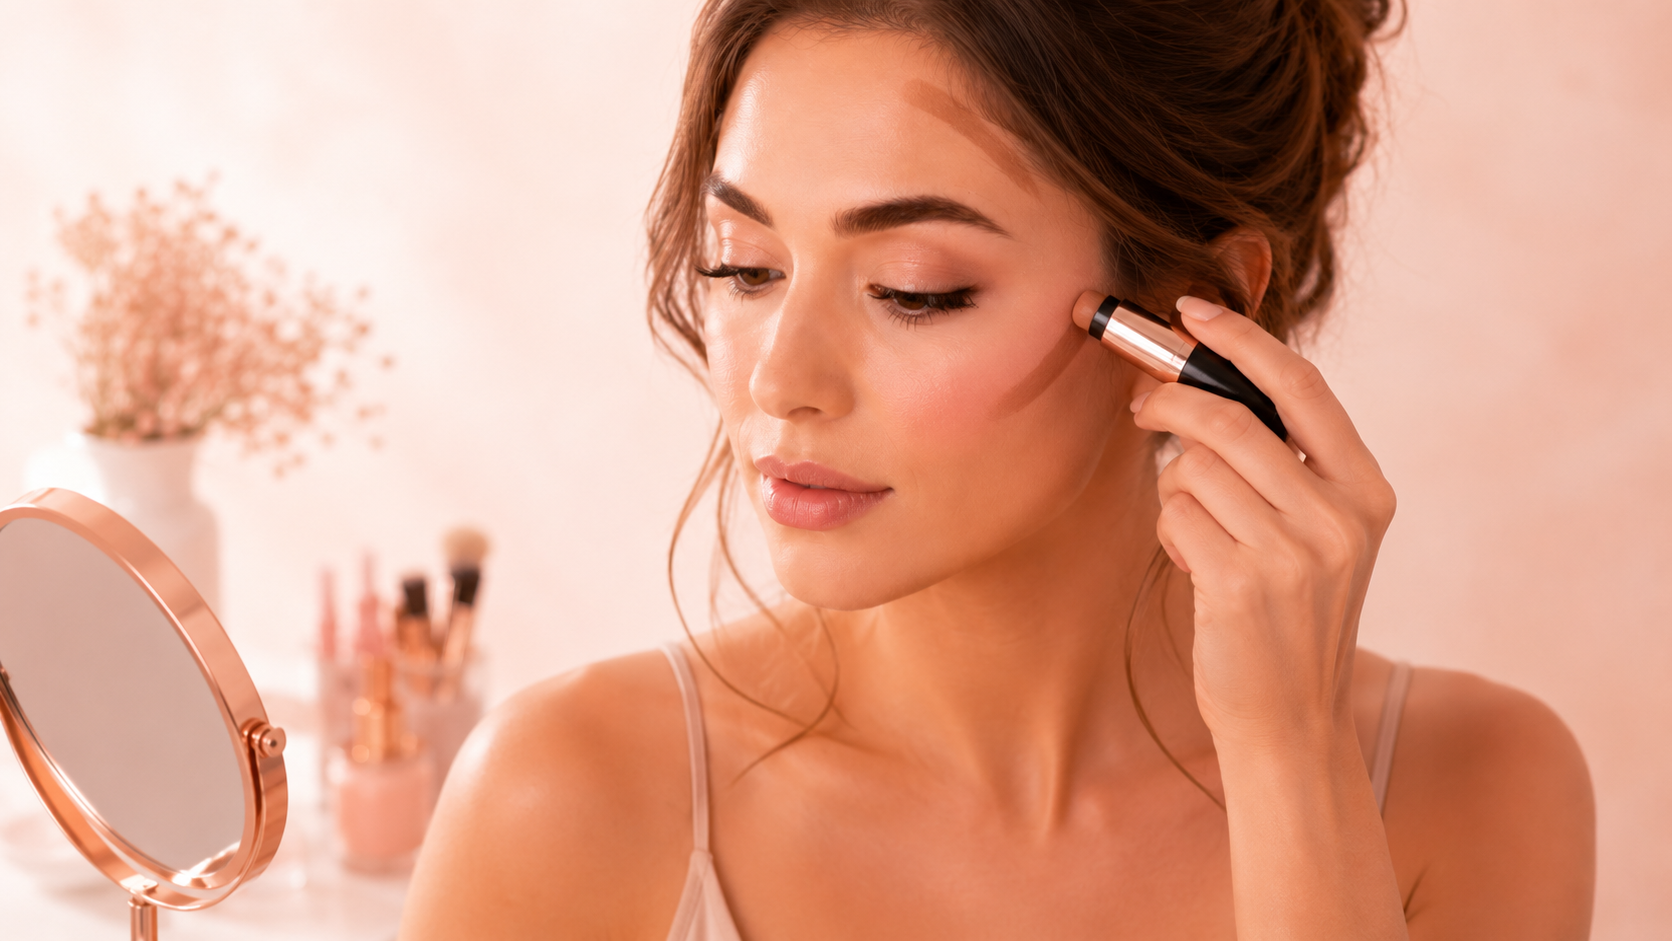
3. Place It Under the Cheekbone
Place contour slightly under the cheekbone, but do not drag it too low. Keeping it higher helps the face look lifted instead of pulled downward.
4. Add a Little Around the Forehead
If you want to soften the forehead area, apply a small amount near the hairline. Keep it light so it blends naturally into the rest of the makeup.
5. Define the Jawline if Needed
A small amount of contour under the jaw can add definition. Blend downward slightly so there is no harsh line sitting on the jaw.
6. Blend Upward
Blend cheek contour upward instead of pulling it down. This keeps the shape lifted and prevents the contour from making the face look muddy.
7. Use a Sponge or Brush
A brush can give more control, while a sponge can soften edges. Use whichever tool helps you blend without removing all the product.
8. Stop Before It Looks Heavy
Contour should be visible enough to shape the face, but soft enough that it does not look like a separate stripe of makeup.
Chele’s pro tip: if your contour looks too strong, tap over the edges with your foundation sponge. This softens the contour without making you start over.
Cream Contour vs Powder Contour
When learning how to apply contour, it helps to understand the difference between cream contour and powder contour. Both can work, but they sit on the skin differently.
Cream Contour
Cream contour usually looks softer and more skin-like when blended well. It works best before heavy powder and can be easier to melt into foundation.
Powder Contour
Powder contour can be easier to control after foundation has been set lightly. It works well when you want a softer, more matte sculpted look.
You can use either formula, but beginners should start with a small amount. The formula matters less than placement, shade, and blending.
How to Apply Contour Without Looking Muddy
A big part of learning how to apply contour is learning how to avoid a muddy finish. Muddy contour usually happens when the shade is too dark, too warm, applied too low, or blended into too many other products.
Contour should create shadow, not a brown patch. Keep the product placed carefully, blend upward, and avoid dragging it across the whole cheek. If the contour starts spreading too far, use a sponge to clean and soften the edges.
- Choose a contour shade that is not too dark.
- Keep cheek contour slightly higher and blend upward.
- Use a small amount first and build slowly.
- Do not drag contour too close to the mouth.
- Soften harsh edges with a sponge or clean brush.
If contour always looks muddy, try using less product and a softer shade. The right undertone can make a big difference.
Contour Mistakes to Avoid
A big part of learning how to apply contour is knowing what makes contour look too harsh. Most contour mistakes come from using too much product, putting it too low, or not blending the edges enough.
Using Too Much Product
Contour can build quickly. Start with a small amount and add more only after blending.
Placing It Too Low
Contour placed too low can pull the face downward. Keep it higher under the cheekbone for a more lifted look.
Using a Shade Too Orange
Orange tones usually look more like bronzer than contour. A neutral or slightly cooler shade usually looks more like natural shadow.
Skipping the Blend
Contour should not have hard edges. Blend until the shadow looks soft and connected to the rest of your makeup.
What Comes After Contour?
After you learn how to apply contour, Michele’s full beat order moves into blush. Contour adds shape, and blush adds life and color back into the cheeks. Together, they help the face look more balanced.
Next, go to how to apply blush. After blush, move into how to apply highlighter, how to apply lip liner, how to apply lipstick, and final setting spray.
If you need to go back, visit how to apply foundation or how to apply concealer. If you want the complete routine, visit the full beat makeup tutorial or return to the main makeup tutorials hub.
For general cosmetic safety and hygiene, you can also review the FDA cosmetics safety page. Clean brushes and safe products matter when applying makeup to the face.
Related Makeup Tutorials
Use these pages next to keep building your full beat makeup routine in Michele’s order.
How to Apply Contour FAQ
Is contour the same as bronzer?
No. Bronzer adds warmth, while contour creates shadow and shape. Bronzer is usually warmer, and contour is usually more neutral or cool.
Where should contour go?
Contour usually goes under the cheekbones, around the forehead near the hairline, and lightly under the jaw if needed. Keep the placement soft and blended.
Should contour go before or after foundation?
In Michele’s full beat order, contour goes after concealer and foundation. Cream contour can be blended into the base before powder products go on top.
Once you understand how to apply contour in soft, blended layers, your makeup can look more lifted, sculpted, and polished without looking harsh.
Want to keep learning? Go back to the main tutorial library and choose another makeup step. This how to apply contour guide is one step in Michele’s full beat makeup tutorial order.
Back to Makeup Tutorials