
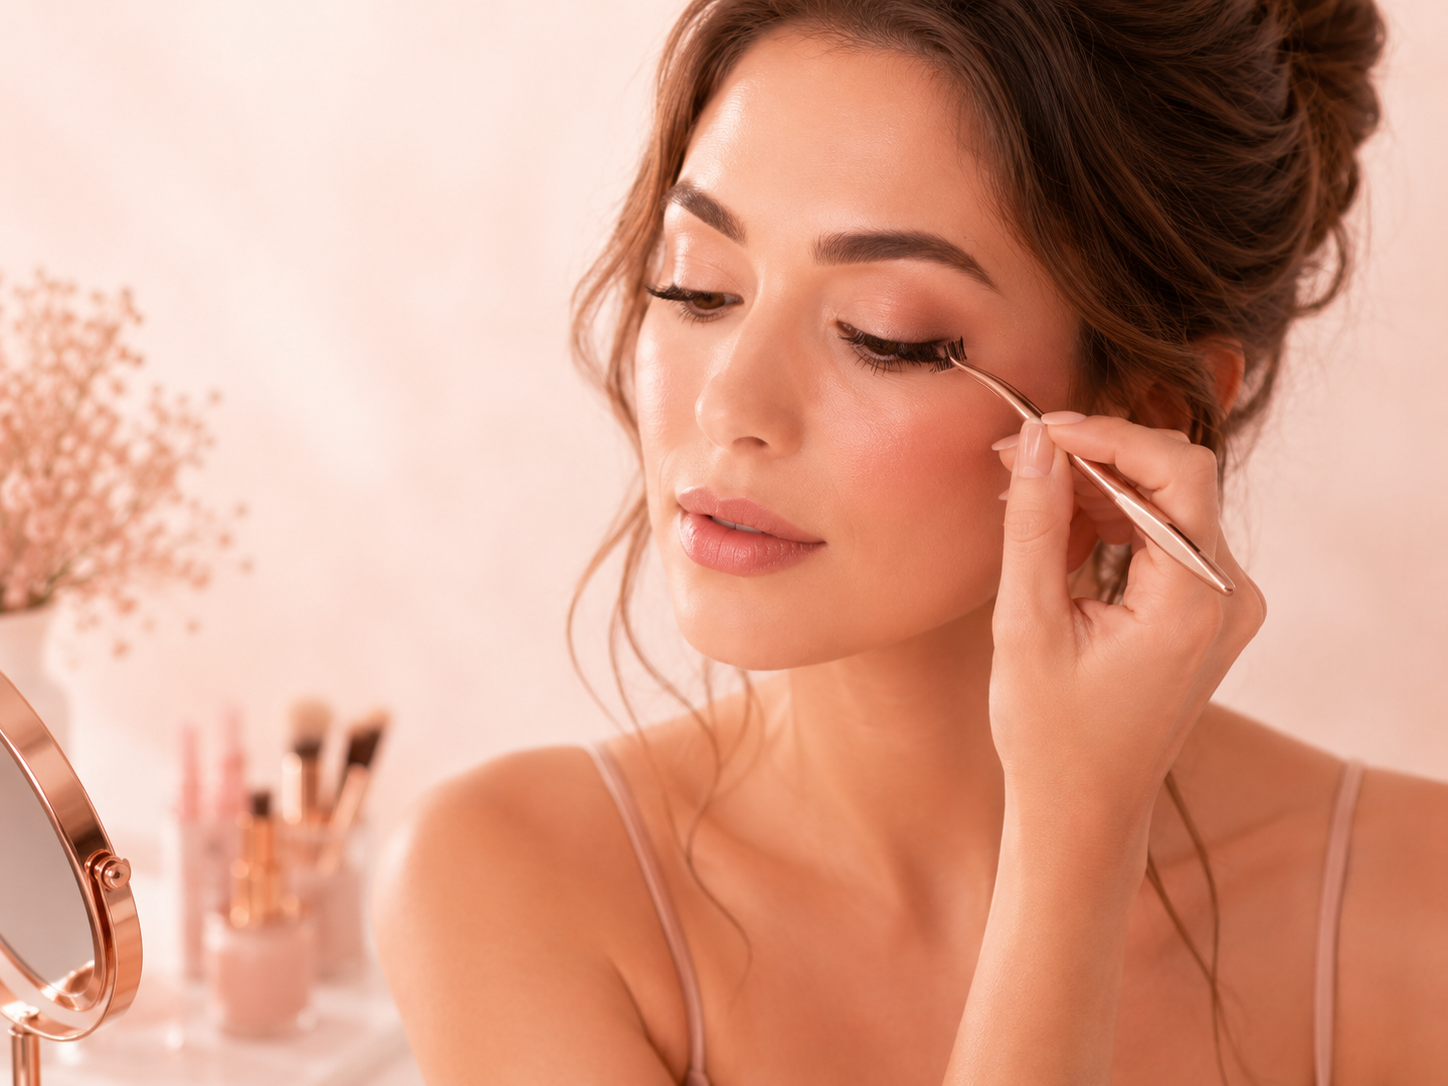
How to apply false lashes is one of those makeup skills that feels intimidating at first, but it becomes much easier when you know how to measure the lash, apply the glue, wait for it to get tacky, and place the band close to your natural lash line.
How to Apply False Lashes
False lashes can make eye makeup look fuller, lifted, and more finished, but they do not have to be scary. This beginner-friendly guide explains how to apply false lashes step by step, how to avoid lifting corners, how to place the lash band more comfortably, and how to blend your natural lashes into the false lashes with mascara.
How to Apply False Lashes Step by Step
How to apply false lashes starts with preparation. The lash has to fit your eye, the glue has to be tacky enough to grip, and the band needs to sit close to your natural lashes instead of floating above them. When beginners struggle with false lashes, it is usually because they try to place the lash too soon, skip measuring, or press the band too high on the eyelid.
- Finish your eyeshadow and eyeliner first. False lashes usually go on after eyeshadow and eyeliner so the lash band blends more easily into the finished eye look.
- Remove the lash gently from the tray. Peel it from the outer corner carefully so you do not bend or damage the lash band.
- Measure the lash against your eye. Place the lash along your natural lash line without glue first. If the strip is too long, trim from the outer edge, not the inner corner.
- Apply a thin layer of lash glue. Focus a tiny bit more glue on the inner and outer corners because those are the areas that tend to lift first.
- Wait for the glue to get tacky. Do not place the lash while the glue is too wet. Tacky glue grips better and slides around less.
- Look slightly downward into a mirror. This angle helps you see the lash line better and makes placement easier.
- Place the center first. Set the center of the lash band close to your natural lash line, then secure the outer corner and inner corner.
- Press the band gently into place. Use clean fingers, tweezers, or a lash applicator to press the band down without poking your eye.
- Blend with mascara if needed. A light coat of mascara can help attach your natural lashes to the false lashes so they look more connected.
Pro makeup artist tip: Do not rush the glue. Waiting for lash glue to turn tacky is one of the biggest secrets to easier false lash application. Wet glue slides. Tacky glue grips.
Beginner Tips for How to Apply False Lashes
Beginners often think false lashes are hard because they are doing something wrong, but most of the time they simply need smaller lashes, better trimming, and more patience with the glue. Learning how to apply false lashes is not about being perfect on the first try. It is about learning how the lash fits your eye shape.
Choose beginner-friendly lashes
If you are new to lashes, start with a lighter strip lash instead of a thick, heavy glam lash. A softer lash band is usually easier to bend, easier to place, and more comfortable to wear. Very dramatic lashes can be beautiful, but they are not always the easiest starting point.
Trim the lash before using glue
A lash that is too long can poke the inner corner, lift at the edges, or feel uncomfortable. Always measure first. If it needs trimming, cut a small amount from the outer edge and test the fit again before adding glue.
Use a thin line of glue
Too much glue can make the lash messy and harder to place. A thin line is usually enough. Add just a tiny bit extra at each end of the band to help prevent corner lifting.
Look down, not straight ahead
Looking slightly downward into a mirror gives you a better view of your lash line. This makes it easier to place the strip close to the natural lashes without accidentally setting it too high.
Common False Lash Mistakes to Avoid
Once you understand how to apply false lashes, the mistakes become easier to spot. Most lash problems are caused by bad timing, wrong sizing, or placing the band too far away from the natural lash line.
- Applying the lash while glue is too wet: Wet glue makes the lash slide around instead of staying where you put it.
- Skipping the measuring step: A strip lash that is too long can poke, lift, or feel heavy on the eyes.
- Placing the band too high: The band should sit close to the natural lash line, not floating on the eyelid.
- Using too much glue: Extra glue can look messy and make the lash harder to control.
- Forgetting the corners: Inner and outer corners often lift first, so they need careful placement and a little extra attention.
- Using heavy lashes too soon: Beginners usually do better with softer, lighter lashes while learning placement.
Since false lashes and lash glue are used near the eyes, safety matters. For general cosmetic safety information, you can visit the official FDA cosmetics information page.
How to Make False Lashes Look More Natural
How to apply false lashes is only part of the process. The other part is making them look like they belong with your eye makeup. False lashes look more natural when they fit the eye, sit close to the lash line, and are blended gently with your real lashes.
Use eyeliner to hide the band
A thin line of eyeliner can help disguise the lash band, especially if the band is darker. If you need help with that step, this How to Apply Eyeliner guide pairs well with false lash application.
Blend with mascara
Mascara can help your natural lashes attach visually to the false lashes. Use a light hand so the lashes do not become too clumpy. The goal is to connect the lashes, not overload them.
Pick the right lash style
Wispy lashes usually look softer. Cat-eye lashes can lift the outer corners. Rounder lashes can open the center of the eye. The best lash style depends on your eye shape and the look you want.
Press the band after placement
After the lash is on, gently press the false lash and natural lash together near the base. This helps the lash sit closer and look less separate.
Helpful reminder: False lashes should not hurt. If a lash feels like it is poking, it may be too long, placed too close to the inner corner, or not trimmed correctly.
How to Fix Lifting Corners and Lash Placement Problems
Even after you learn how to apply false lashes, you may still have days when the inner corner pops up or the outer edge will not stay down. That does not mean you failed. It usually means the glue timing, lash length, or corner pressure needs a small adjustment.
If the inner corner lifts
Add a tiny dot of glue to the inner corner with a clean applicator, wait until it gets tacky, then press the corner back down. Avoid flooding the area with too much glue.
If the outer corner lifts
The lash may be too long or the outer edge may not have had enough glue. Trim slightly from the outer edge next time and add a little extra glue to that end before placement.
If the lash feels uncomfortable
Take it off and check the length. A lash strip that reaches too far into the inner corner can feel sharp or irritating. Comfort matters more than forcing a lash to fit.
If the lash sits too high
Remove it gently and try again. The band should sit close to your natural lashes. Looking downward into the mirror can make it easier to place it lower and closer.
Where False Lashes Fit in a Full Makeup Routine
In a full beat makeup routine, false lashes usually come after brows, eyeshadow, and eyeliner. This keeps fallout and liner work from disturbing the lashes later. Once the lashes are on, many makeup artists use mascara to blend the natural lashes into the false lashes before moving into complexion steps.
If you are following a full makeup order, false lashes come before concealer, foundation, contour, blush, powder, highlighter, and final setting spray. This is why learning how to apply false lashes is helpful before building a full face. Once the eyes are finished, the rest of the makeup can stay cleaner and easier to control.
You can follow the full routine on the Full Beat Makeup Tutorial page, or go back to the main Makeup Tutorials hub to practice each step one at a time.
Final Thoughts on How to Apply False Lashes
How to apply false lashes becomes much easier when you slow down and focus on the basics: measure the lash, trim if needed, apply a thin line of glue, wait for the glue to get tacky, and place the band close to your natural lash line. You do not have to get it perfect the first time. Even makeup artists had to practice lashes before they felt easy.
The biggest thing to remember is that false lashes should fit your eye and feel comfortable. If they poke, lift, or feel too heavy, adjust the size or choose a softer style. With practice, false lashes can become a simple finishing step that makes your eye makeup look more polished, lifted, and complete.