
Brow makeup for beginners should help your brows look softly shaped, balanced, and natural without making them too dark, too harsh, or overdrawn.
Brow Makeup for Beginners – 5 Best Tips for Soft Brows
Brows frame the face, but beginner brow makeup does not need to be complicated. A pencil, gel, spoolie, and light hand can make a big difference.
Brow Makeup for Beginners: Start With Your Natural Shape
Brow makeup for beginners works best when you follow the shape you already have instead of trying to draw a completely new brow. Natural brows are rarely identical, and they do not need to be perfect twins to look polished.
Start by brushing the brow hairs upward and outward with a spoolie. This helps you see the sparse areas, the natural arch, and the tail of the brow before adding any product.
Chele’s brow rule
Fill the gaps, do not draw a whole new brow. The softest brow makeup usually comes from small strokes placed only where the brow needs help.
The Best Brow Makeup for Beginners
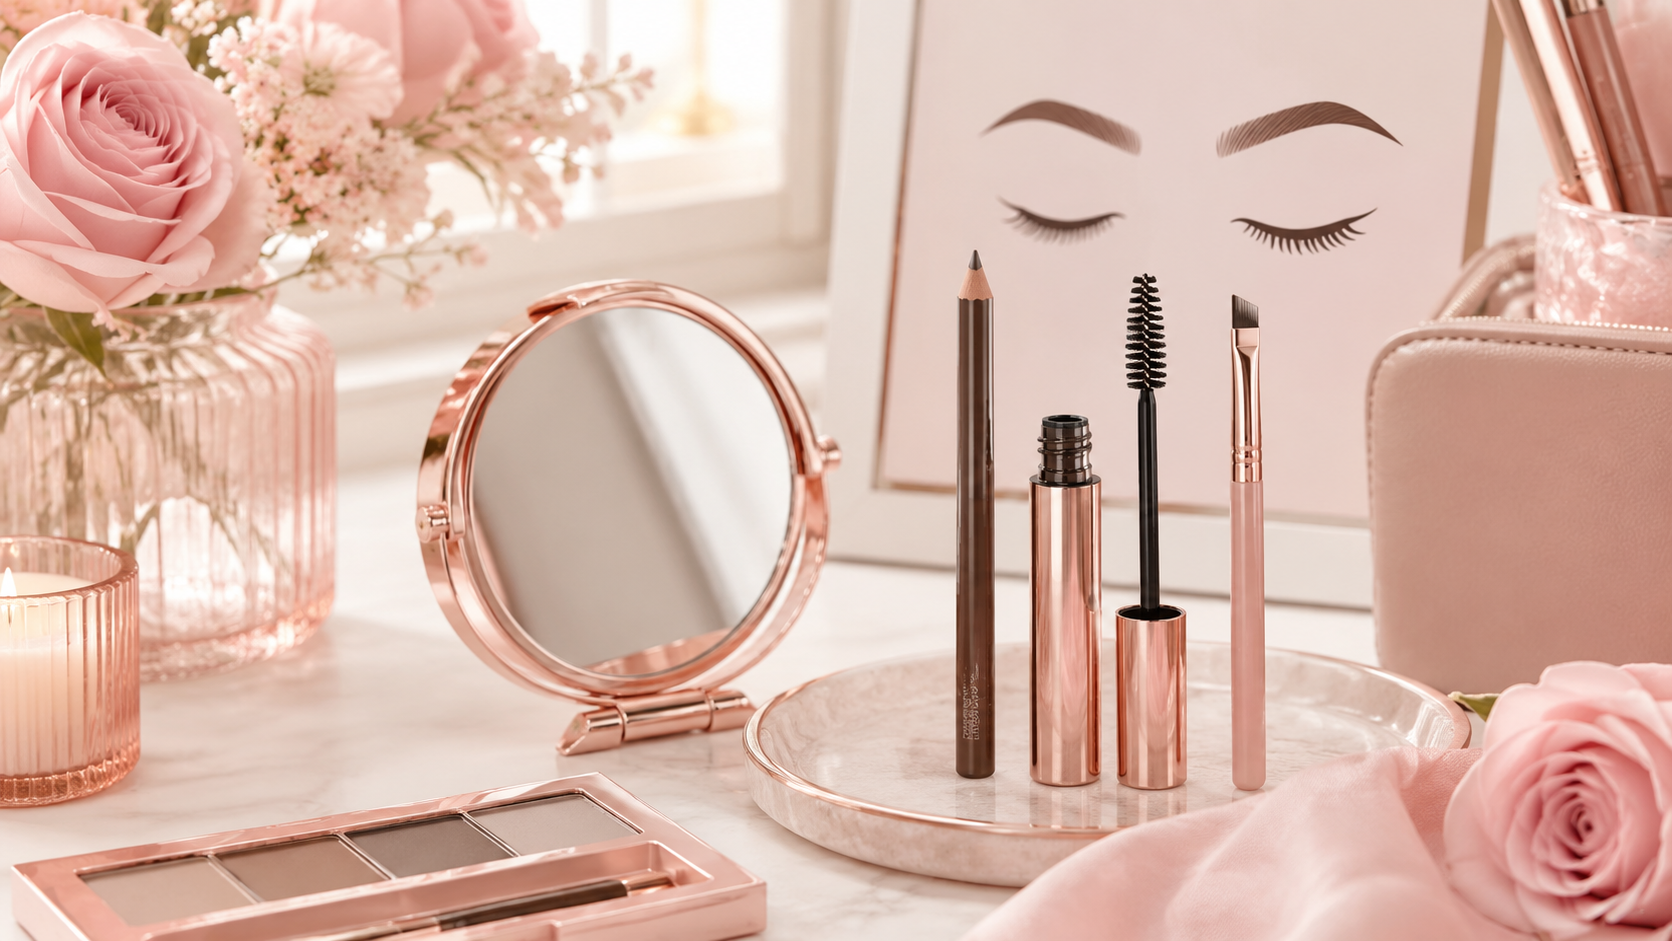
The best brow makeup for beginners is easy to control. A fine-tip pencil, tinted brow gel, clear brow gel, spoolie, or brow powder can all work, but you do not need every product at once.
If your brows are sparse, a pencil gives control. If your brows are full but messy, gel may be enough. If your brows need soft shading, powder can look natural and beginner-friendly.
Use a spoolie to see your natural brow shape before adding product.
Add product only where brows look sparse instead of coloring the whole brow.
Short, light strokes look softer than one solid block of color.
Brushing after filling softens lines and makes brows look more natural.
Choose the Right Brow Shade
Brow products can look harsh when the shade is too dark or too warm. For most beginners, a shade close to your brow hair or slightly softer is easier to wear.
If you have dark brows, you may not need a black product. Soft brown, dark brown, taupe, or ash brown can look more natural than a very deep pencil.
Use Light Strokes Instead of Coloring Everything
The biggest beginner brow mistake is filling the whole brow like a marker. Brows usually look softer when you use small hair-like strokes only in the areas that need fullness.
Hold the pencil lightly and avoid pressing too hard. You can always add more, but dark brow makeup is harder to soften once it is packed on.
Brush Through the Brows After Filling
A spoolie can make brow makeup look much softer. After you apply pencil, powder, or gel, brush through the brows to blend the product into the hair.
This step helps remove harsh edges and keeps the brow from looking stamped on. For brow makeup for beginners, blending is just as important as filling.
Should Beginners Use Brow Gel?
Brow gel is helpful if your brow hairs move around or point in different directions. Clear gel gives hold without adding color. Tinted gel adds a little color and fullness while keeping the brow hairs in place.
If you already have full brows, you may only need gel. If you have sparse spots, use pencil first, then gel to set the hairs softly.
Use brow gel to hold hairs in place without making brows stiff or crunchy.
Keep the front of the brow lighter so it does not look boxy.
Define the tail gently, but do not drag it too far downward.
Use a tiny bit of concealer around the edges only if needed.
How to Shape Brows Without Overdoing It
The front of the brow should usually stay softer than the arch and tail. If the front is too dark or squared off, the brow can look heavy. Use the least product at the front and blend well.
The tail should follow your natural direction without being pulled too far down. A low, heavy tail can make the eye area look tired, so keep the end soft and lifted.
Common Brow Makeup Mistakes
- Using a brow shade that is too dark.
- Drawing a harsh square front of the brow.
- Filling the entire brow instead of sparse areas.
- Forgetting to brush through with a spoolie.
- Using too much gel and making brows stiff.
- Trying to make both brows perfectly identical.
Easy Beginner Brow Routine
Start by brushing your brows upward and outward. Fill only the sparse spots with tiny strokes. Brush through again to soften the product. Then use a clear or tinted gel to hold the hairs in place.
This simple routine is enough for most everyday makeup looks. Brow makeup for beginners should make your brows look groomed and balanced, not overly drawn.
How to Keep Brows Looking Natural
Step back from the mirror after filling your brows. Up close, tiny gaps can look more noticeable than they do in real life. From a normal distance, softer brows often look better than brows filled too perfectly.
If the brows look too strong, brush them with a clean spoolie or tap lightly with leftover foundation on a sponge around the edges.
Final Thoughts on Brow Makeup for Beginners
Brow makeup for beginners is not about creating perfect brows. It is about softly filling gaps, brushing through the product, choosing the right shade, and keeping your natural shape visible.
With a light hand and a few simple tools, your brows can look polished, balanced, and natural without taking over your whole makeup look.
For general cosmetic safety information, you can also visit the official FDA cosmetics information page .