
Highlighter placement for beginners is easier when you know where glow belongs, where it can emphasize texture, and how to keep the finish soft instead of shiny.
Highlighter Placement for Beginners – 5 Best Tips for a Soft Glow
Highlighter should catch light in the right places. A little glow can make the face look fresh, lifted, and polished without making the skin look glittery or oily.
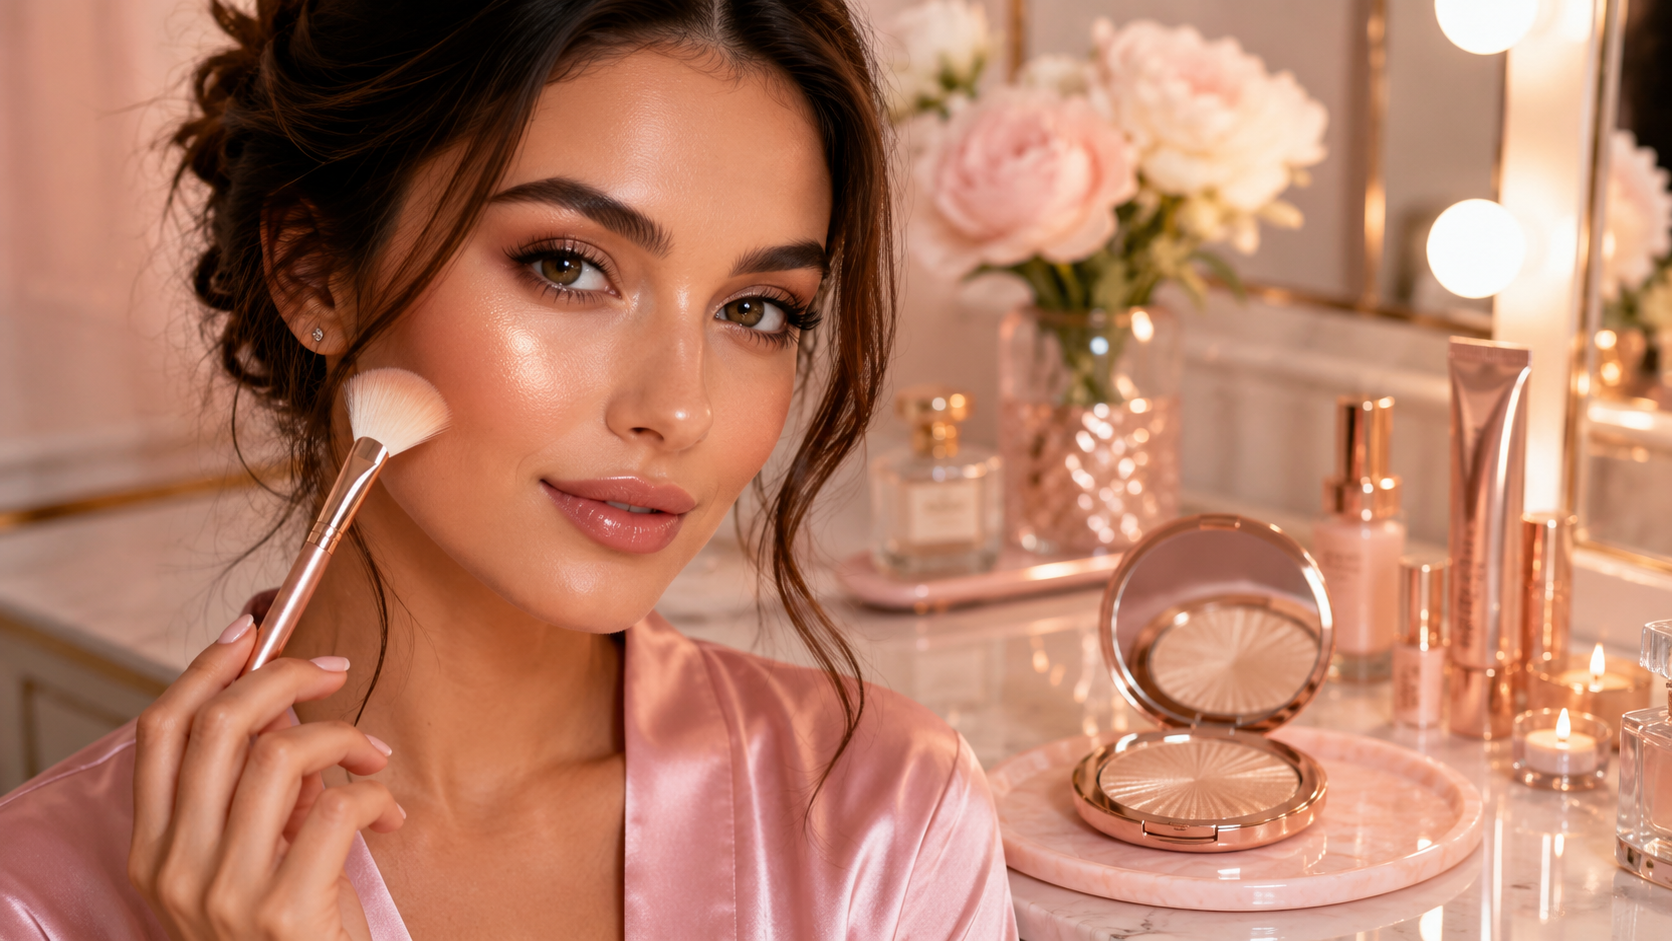
Highlighter Placement for Beginners: Start With Less Glow
Highlighter placement for beginners can feel confusing because highlighter is beautiful when it catches the light, but it can also make texture stand out if too much is used. The goal is not to cover the whole face with shimmer. The goal is to place a small amount where light naturally hits.
Think of highlighter as a finishing touch, not the main step. Once your foundation, concealer, blush, and powder are finished, highlighter can add a soft glow to the areas you want to bring forward.
Chele’s highlighter rule
If you can see a stripe of highlighter straight on, it may be too much. The prettiest glow usually shows when you turn your face and the light catches it.
The Best Highlighter Placement for Beginners
The best highlighter placement for beginners is soft and controlled. Start with the tops of the cheekbones, then decide if you want a little more on the brow bone, inner corners, or cupid’s bow.
You do not need to highlight every possible area. Pick one or two places at first, then add more only if it still looks balanced with the rest of your makeup.
Place highlighter on the highest part of the cheekbone, above blush, not low on the cheek.
Add a tiny amount under the outer brow to softly lift the eye area.
A small touch near the inner eye can make the eyes look brighter.
A tiny highlight above the lip can make lip color look more polished.
Where to Put Highlighter on the Cheeks
Cheekbone placement is the most common place to use highlighter. Place it on the high point of the cheekbone where the light naturally catches your face. Keep it above blush and away from the center of the cheek if you have texture there.
If you place highlighter too low, it can make pores or texture look stronger. If you place it too far forward, it can look shiny instead of lifted. Start near the outer cheekbone and blend softly.
Highlighter on the Brow Bone and Inner Corner
A small amount under the brow bone can make the eye area look lifted. Keep it soft and avoid a harsh white stripe. The goal is a gentle brightness, not a heavy shimmer line.
Inner corner highlight can make tired eyes look more awake. Use a small brush or fingertip and place just a tiny amount near the inner corner of the eye.
Should You Highlight the Nose?
Nose highlight is optional. Some people love it, and some people feel it makes the nose look shiny. If you try it, use a very small amount down the center or just on the tip.
Avoid using too much product on the nose if your skin gets oily there. A strong highlight on an oily area can turn into shine quickly.
Powder vs Cream Highlighter
Powder highlighter can be easier for beginners because it is simple to place and build slowly. Cream highlighter can look softer and more skin-like, especially on dry skin, but it can move makeup underneath if you rub too hard.
If you use cream highlighter, tap it on gently instead of dragging. If you use powder highlighter, start with a light hand and build only if needed.
Highlighter should fade into the skin instead of sitting like a sharp stripe.
Skip highlighter on areas where bumps, pores, or flakes are more visible.
Champagne, pearl, rose, or gold tones should flatter your skin instead of looking chalky.
Start with one small area, then check your makeup in natural light.
Highlighter Mistakes Beginners Make
- Putting highlighter too low on the cheek.
- Using too much product at once.
- Choosing a shade that looks too icy or too dark.
- Highlighting texture, pores, or dry patches.
- Leaving harsh edges instead of blending softly.
- Using glitter when you wanted a natural glow.
How to Choose the Right Highlighter Shade
The right highlighter shade should look like light on your skin, not a stripe of color. Fair skin may like pearl or soft champagne. Medium skin may like champagne, rose gold, or soft gold. Deeper skin may like warm gold, bronze gold, or coppery glow.
When thinking about highlighter placement for beginners, shade and texture matter just as much as where you put it. A smooth formula in a flattering shade will always look easier than a chunky glitter product.
How to Keep Highlighter Looking Soft
Use a small brush, fan brush, or fingertip to apply highlighter lightly. Then blend the edges with a clean brush or sponge. If it looks too strong, press a little leftover foundation sponge over the edge to soften it.
You can also apply setting spray after highlighter to help powders melt together. This can make the glow look more natural and less powdery.
Final Thoughts on Highlighter Placement for Beginners
Highlighter placement for beginners is about catching light in the right places, not covering the face in shimmer. Start with the cheekbones, blend softly, and keep the glow away from texture you do not want to emphasize.
Once you learn where highlighter flatters your face, it becomes one of the easiest finishing steps for a fresh, lifted, soft-glow makeup look.
For general cosmetic safety information, you can also visit the official FDA cosmetics information page .